

Table of Contents
Please check out this other post of mine titled “Using Dorks for learning and for fun.“. It shows you how to use Dorks to find better information on the internet.
Adding column to Wireshark.
In this tutorial, I will explain how to add a new column to Wireshark that displays comments. I have found this to be helpful at work when looking at a packet capture that has a lot of IPs, and I need to determine information about them in a quick manner.
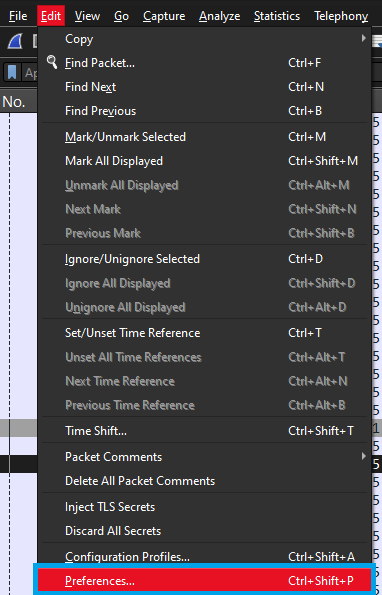
The first step is to click the “Edit” button at the top of the program, as seen in the red box below.

After clicking edit, a drop down menu will show, now click “Preferences“.
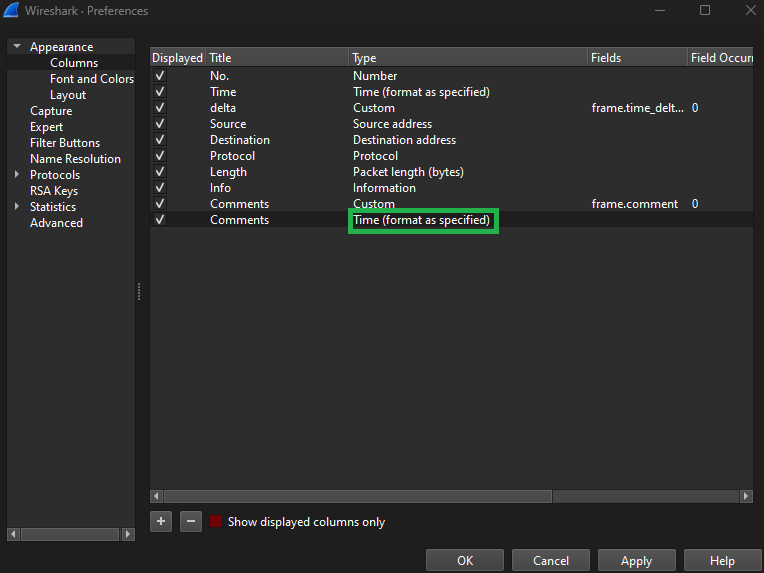
Now, you need to click the “Columns” dropdown and then click the plus sign at the bottom left of the screen.

Pick and type in the name of the new column. In this case, we choose ‘Comments’ After typing in the new name for the column, click where the green box is below. This will open a new dropdown menu.
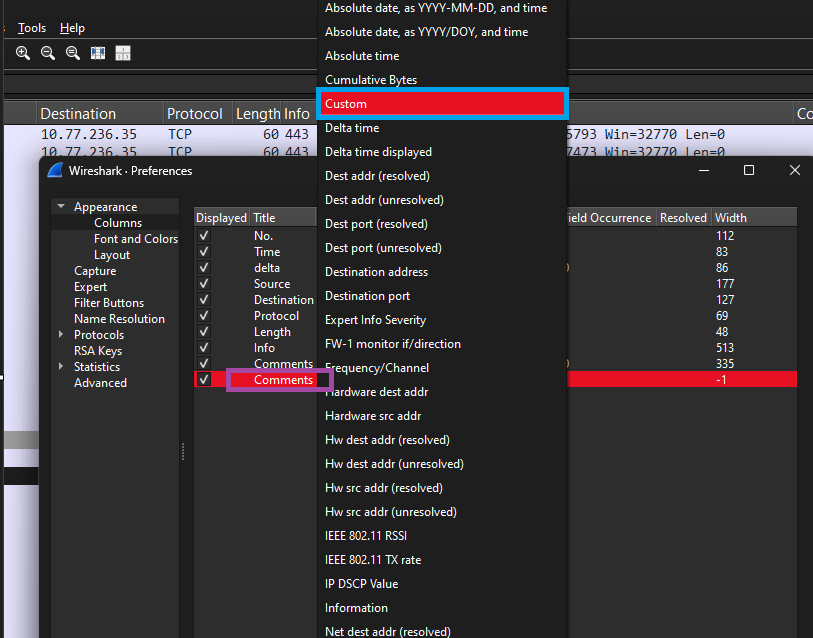
Scroll and find the “Custom” entry.
Now that the new column is named and has the type, we need to type, “frame.comment” in the “Fields” column.
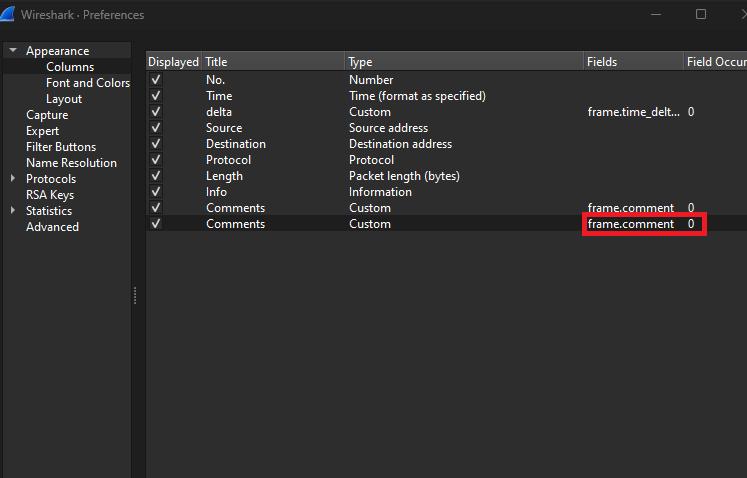
Now click “apply” and then “ok“. This will save the new column.

Adding the new column.
After the box closes you should see a new column on the top of the screen as seen in the image above.
Testing the new column.
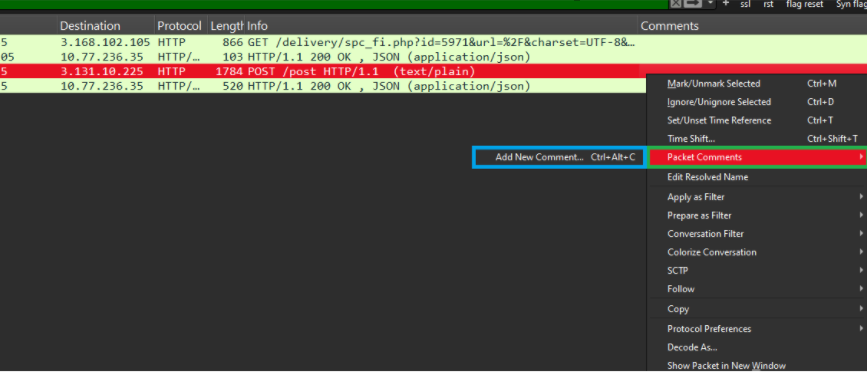
Now to add a comment to a packet, “right” click you mouse on the entry you want to comment. A drop down menu will show, you should click “Packet Comments” and then click “Add new Comment..“.
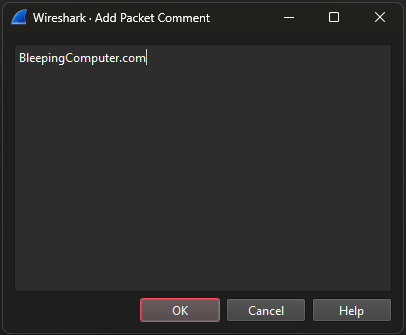
A box like the image above will appear. This is where you should write your comment about this certain packet. I usually comment on where the IP is hosted. After you are done adding a comment, click the ‘OK‘ button to save the comment.

The black line shows the comment made in the last step.