
Table of Contents
If you are new to this hobby and want to learn more on how I picked the furnace and other gear please check out my other post that describes the process in more details and some hot tips to stay safe. The article is titled “My Journey in Silver casting…“
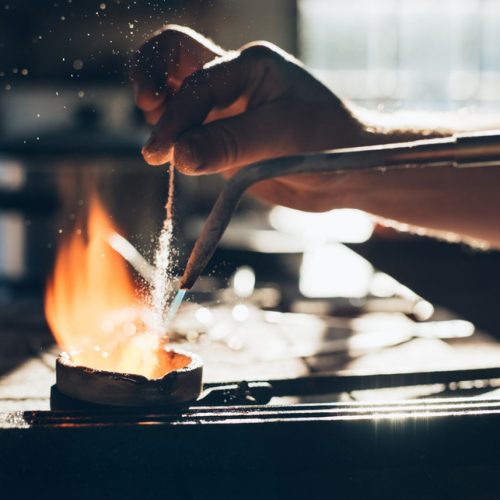
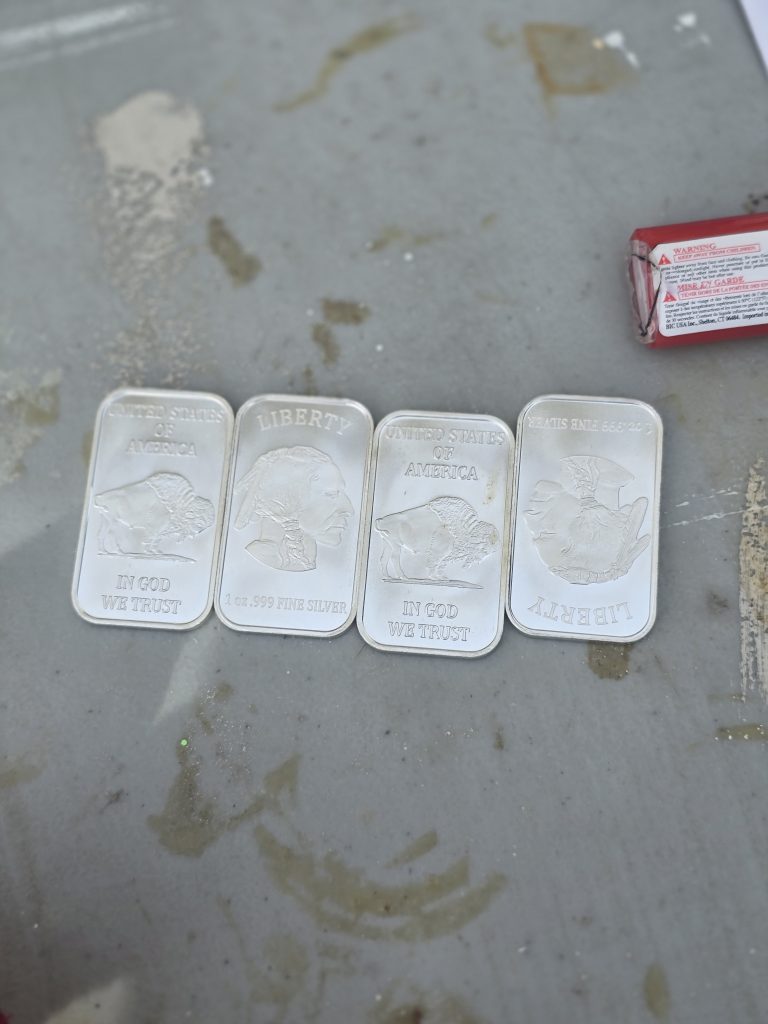
The image above shows some of the Silver bars that I melted. There were two bars and one Silver coin in the crucible. The crucible is a graphite based object where we melt the silver. The bars were in a plastic covering which I had to cut.
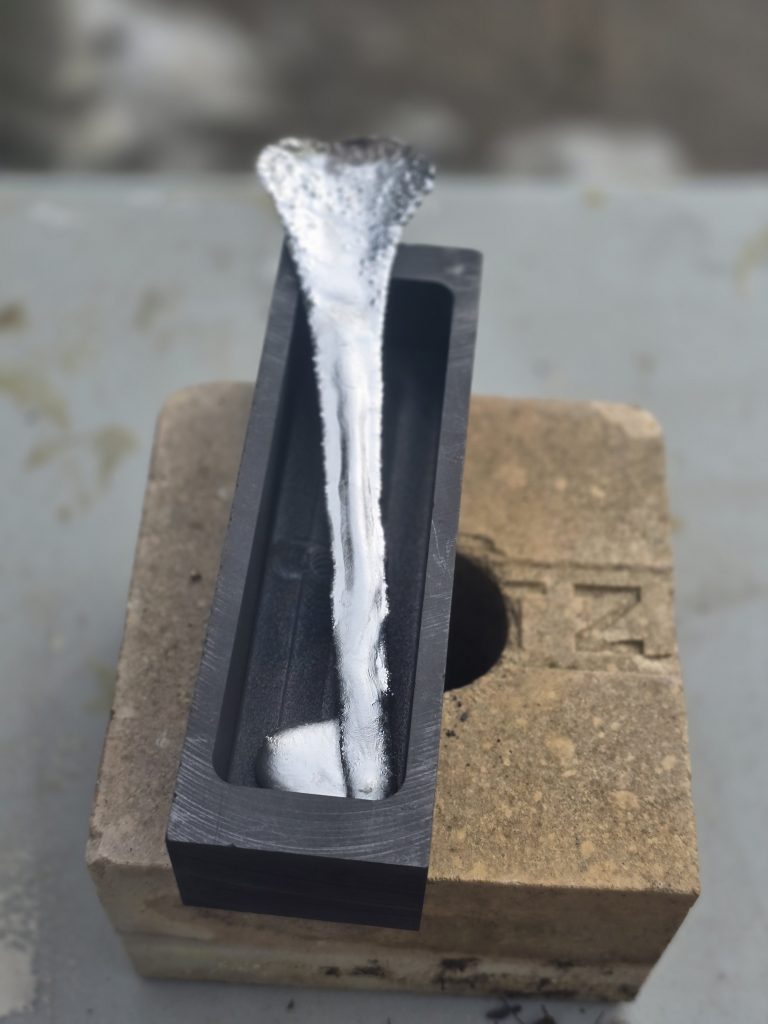
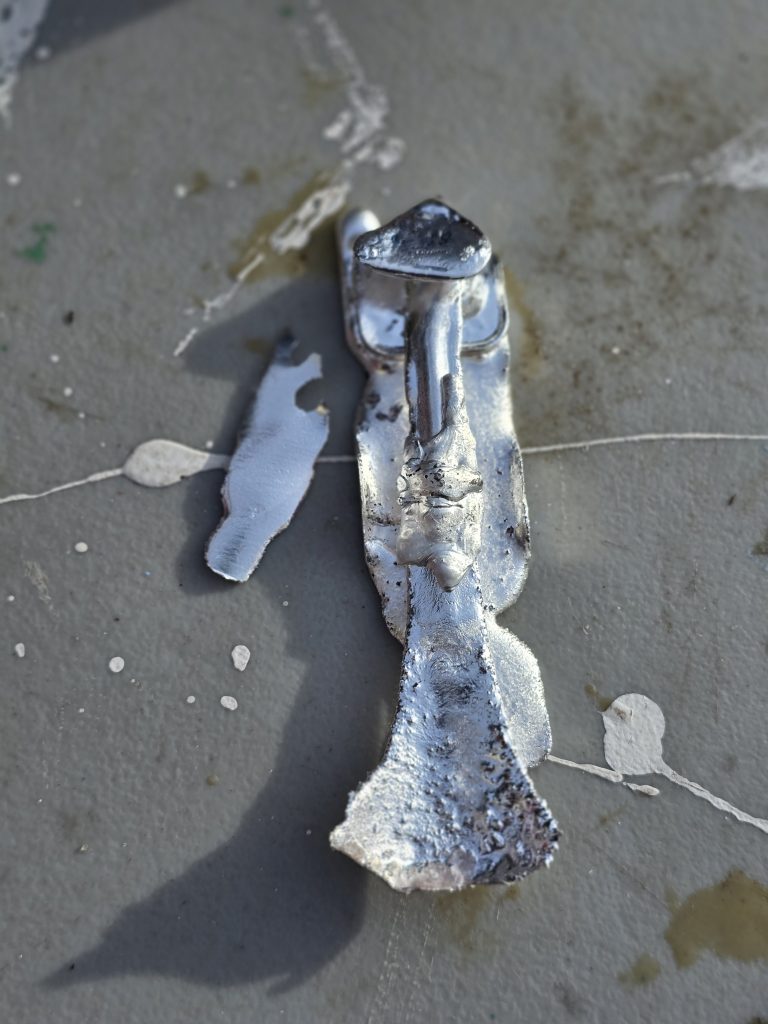
This is the result of the first pour we made. It flowed good at first but then I think it cooled too fast. One of the silver that came out looked liked a heart. We ended up putting the silver pieces back into the crucible. We noticed that top of the crucible was not as hot as the bottom of it. I think this lead to the hot silver to get hard when being poured. Also maybe next time we will bring pilers that could cut the long piece of Silver into smaller pieces as it took forever for it to melt since it was near the top of the crucible.
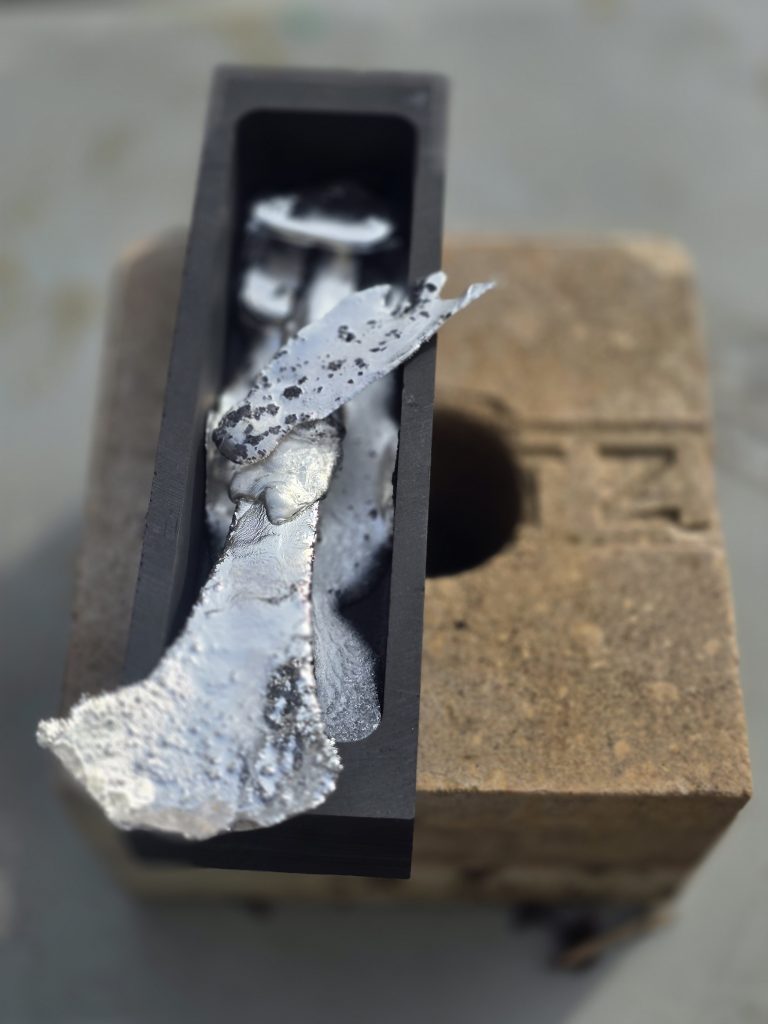
The last piece came out a little better than the first. We decided to melt all the remaining Silver rounds. The problem still persisted where the melted Silver became too cold when pouring it. The fist bit of the pour worked nicely. Maybe next time I will try to use the Mapp torch on the pour of the crucible to keep it hot. The piece came out abstract which was pretty cool. I might keep it to remember my first pour out of many pours.
Notice how we put the graphite mold on a fire block. During when I was putting the newly poured silver back into the crucible it fell on the plastic table which then caught fire and left a nasty burn in the table. Luckily the friend who’s table I was using did not mind it as it was their “art” table.
Of course when pouring the silver I had gloves that came with the furnace and eye wear.
The next time doing a pour I will try to use a custom graphite mold instead of using the one that came with it. We had an idea to make custom challenge coins. I chose to use a graphite mold out of the many different ways of making a silver round because you can use the graphite mold over and over again where other methods you can only use it once.
Unrelated but I used my Dad’s knife to open the box so that he can be apart of my journey as well even if he is not on earth anymore. He would probably loved to help me with this journey into silver casting.
Lessons Learned

- After reaching the temperature of 961.8°C ( 1763.2°F ) maybe next time we will wait 20 or 15 minutes to give more time for the silver to melt. After the pour I noticed that a couple pieces of the silver bar did not fully melt as I could still see the shape and design after I poured the hot silver.
- Maybe try melting the Silver when it is spring out or when it’s warmer out, while it was not too cold it was still a little chilly outside which might of caused the Silver to cool too fast.
- Need a bigger fire stone. After pouring I accidently dropped it on a plastic table which caused a small fire. If we had a bigger fire stone than it might of stopped it from being dropped on the table.
- Another thing I will do before trying again is to watch some videos on YouTube to refresh my memory on anything that I could be doing better or something I forgot.
- I will also read and post on the “/r/silvercasting” reddit asking for advice on why it was cooling so fast.
- Use a Mapp torch to keep the crucible hot when pouring.
- Look into purchasing a Mapp Torch as we had to borrow the one we used from a friend.
- Also I did not realize that it would take 3 to 4 hours for the furnace to cool down enough to put away. Maybe next time do it in my backyard instead of a friends house so they do not need to pack it up themselves or bring to my house.
- When unpacking the furnace always check the bottom of the Styrofoam. We unpacked everything and started the process and realize we were missing the gloves and crucible. They were on the bottom of the Styrofoam.
- Maybe experiment with using silver shot instead of using silver bars or rounds. Might be easier to melt and faster.
- Buy another crucible ( 1kg ) to use to melt aluminum for challenge coins, because I have read during my searching on the topic that you should use different crucibles for different metals. Luckily they are relatively cheap at around $30 for a 1kg size on Amazon.
- During researching the topic of how long and how hot to melt the silver, I have found during my research that you cannot heat it up for too long as it might explode and if you keep it too hot it will “give porosity” to the silver.
Possible Solutions to solve the issues.

- https://www.reddit.com/r/Silvercasting/comments/1g9cvdt/comment/ltb44fd/
- https://www.reddit.com/r/Silvercasting/comments/6al3i7/help_with_silver_pouring/
- https://www.reddit.com/r/Silvercasting/comments/lb72m3/casting_torch_recommendations/
- https://www.reddit.com/r/Silvercasting/comments/hdy2m8/quick_dumb_question/
- One commentor said that you should use at least 50% new silver each time you melt. On my second try I remelted the first melt silver.
- https://www.reddit.com/r/Silvercasting/comments/10vsguq/a_good_blowtorch_on_a_budget_reccomendations_for/
- One commentor recommended bernozomatic ts8000
- https://www.reddit.com/r/Silvercasting/comments/10radym/advice_for_castingpouring_fine_silver_bars_noob/
- recommends MAGtorch
- MT565. No C. Get the one without a dial
- I was re-watching YouTube videos that show the casting, a lot of them had their furnace at 1000+ °C
If you are interested in starting to pour, please check out this post “My First Silver Pour“.